4. Manager
manager is a key Flopsar component, which is responsible for managing the entire Flopsar environment.
4.1. Configuration
manager is managed by its configuration file <manager_home>/conf/flopsar.conf.
- server.bind.port
- Port of the TCP server.
- server.bind.ip
- IP address of the TCP server. This option is not mandatory. When the option is either empty or missing, the IP address is read from the license file. If the option value is set to *, the TCP server will bind to all existing IP addresses.
- plugins
- List of enabled plugins. This option contains full names of the plugins.
Entries must be comma separated. By default only one plugin is enabled:
libflopsar-authbasic.so. If you want to use additional plugins, add their names and separate them with a comma. Flopsar manager currently uses two plugins: authentication and notification. The first one is used for authentication purposes and the second one is used for notification. You can easily replace these plugins with custom ones (see Plugins for details).
4.2. Logging
manager has a single log file fs2mgr.log. It is stored in manager_home/logs directory. The logging levels are defined in Logging.
You can set the logger level either during the startup procedure or in runtime. For example, to set the fine level during manager startup use the following options:
$ fs2mgr start --loglevel fine <manager_home>
In order to change it in runtime, execute the following command:
$ fs2mgr set --loglevel fine <manager_home>
4.2.1. Logger messages
Each logger message entry has the following structure:
DATE [LEVEL][PID] Message content
or
DATE [LEVEL][PID][PLG] Message content
The only difference between these two types is an additional PLG entry. This entry denotes that this particular message comes from a plugin. The rest of the entries denote:
| DATE: | current date. |
|---|---|
| LEVEL: | current logger level. |
| PID: | system process ID number of the logging process. |
| Message content: | |
| is self-explanatory. | |
4.3. Authentication and Authorization
manager accepts connections from three types of clients: fdbc, agent and database ones. The explicit authentication is required only for fdbc clients. workstation is a fdbc client too, so when a user logs to the workstation they are required to authenticate to manager by providing their credentials. Flopsar supports two types of authentication mechanisms: internal and LDAP.
4.3.1. Internal Authentication
In order to enable the internal authentication mechanism you must add the libflopsar-authbasic plugin library to the configuration option in the flopsar.conf file, i.e. plugins=libflopsar-authbasic. This operation requires manager to be restarted. Users management is done by means of fs2auth executable. The following operations are supported:
Listing users
To list all the stored users execute the following command:
$ fs2auth list --mode users <manager_home>
Adding users
To add a new username user execute the following command:
$ fs2auth add --user username <manager_home>
Deleting users
To delete username user execute the following command:
$ fs2auth delete --user username <manager_home>
4.3.2. LDAP Authentication
In order to enable the LDAP authentication mechanism you must add the libflopsar-ldap plugin library to the configuration option in the flopsar.conf file, i.e. plugins=libflopsar-ldap. This operation requires manager to be restarted.
Important
There can be only one authentication plugin in the manager configuration file. Use either libflopsar-authbasic or libflopsar-ldap.
Next, copy the /usr/share/flopsar/templates/plugins/flopsar-ldap directory into <manager_home>/conf/ and edit the <manager_home>/conf/ldap.conf file. The file has the following options to set:
- ldap.url
- LDAP service URL.
- ldap.base.dn
- Base DN to be appended to all LDAP requests.
- ldap.bind.dn
- LDAP user binding DN.
- ldap.bind.password
- LDAP user password.
- ldap.auth-type
- LDAP authentication mechanism. Currently, only simple mechanism is supported.
- ldap.user.attr.username
- Username LDAP attribute. Values of the attribute must match the ones given by users during logging to manager.
- ldap.user.search
- LDAP search query to find users in the LDAP service. You can user $ char in the query, which will be replaced with a username.
Flopsar must know which users stored in your LDAP server are allowed to login to manager. That means you must have (or create) a container (group) in your LDAP server. If some user is allowed to login to the database, they must be a member of this container (so-called login group). There are four options you must set in the Flopsar configuration file to set it up.
- ldap.group.name
- The login group name.
- ldap.group.attr.member
- This value must correspond to a username. This username must match the one used by a user to login.
- ldap.group.search.member
- LDAP filter to find a member of the login group.
- ldap.group.search
- LDAP search query to find groups. You can user $ char in the query, which will be replaced with a username.
Below, an example is presented:
ldap.url=ldap.mydomain.com:389
ldap.base.dn=dc=mydomain,dc=com
ldap.bind.dn=cn=ruser,dc=mydomain,dc=com
ldap.bind.password=secret
ldap.auth-type=simple
ldap.user.attr.username=uid
ldap.user.search=(&(objectClass=person)(uid=$))
ldap.group.attr.name=cn
ldap.group.attr.member=memberUid
ldap.group.search.member=(&(objectClass=posixGroup)(cn=flopsar)(memberUid=$))
ldap.group.search=(&(objectClass=posixGroup)(cn=$))
Note
There is currently only one LDAP authentication strategy supported by Flopsar, i.e. direct (bind) authentication to the LDAP server. This implies every user must be able to bind to the LDAP server.
4.3.3. Authorization
Flopsar authorization mechanism is based on permissions. The authorization process is performed by Flopsar itself.
In order to list all the available permissions, execute the following command:
$ fs2auth list --mode permissions
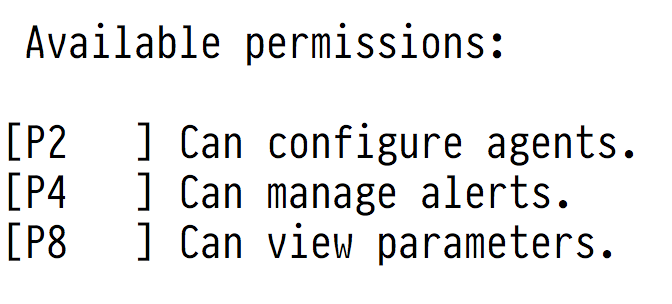
Fig. 4.1 List of Permissions
If you want to see which permissions users have, list all the users:
$ fs2auth list --mode users <manager_home>
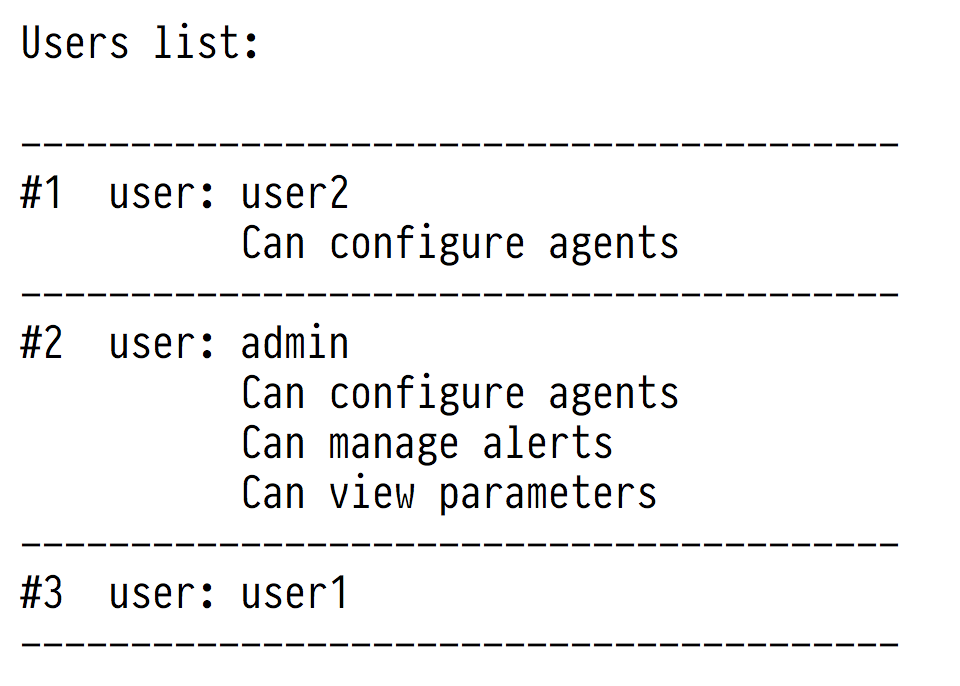
Fig. 4.2 List of Users
If, for example, you want to allow user1 edit agents configurations, just execute the following command:
$ fs2auth add --user user1 --perm P2 <manager_home>
In order to revoke that permission, execute the following command:
$ fs2auth add --user user1 --perm ~P2 <manager_home>
Please, refer to fs2auth man page for more.
4.4. Managing Agents
Each agent must be connected to some database in order to send its data. The procedure of attaching agents to databases is performed by manager.
Note
The agent must be connected to the manager before you can attach it to any database.
Suppose you have a running myAgent1 agent and want to attach it to a database, which server listens on 172.16.0.12:8000. In order to do it you must execute the following command:
$ fs2mgr set --agent-type java --agent-name myAgent1 --database 172.16.0.12:8000 <manager_home>
This operation will store this change in manager and makes the agent drop its current database connection and connect to a new database.
You can always inspect your agent configurations by executing the following command:
$ fs2mgr get --target agents <manager_home>
As a result you should see something similar:
TYPE   ID                 AGENT                                DATABASE                   CONFIGURATION
-------------------------------------------------------------------------------------------------------
JVM  | 49132292717FA021 | kona1...........................   | 172.16.0.12:8000         | c1
JVM  | 9349FF5C62BEEB7C | kona2...........................   | 172.16.0.13:8000         | c1
-------------------------------------------------------------------------------------------------------
TOTAL  2
where:
- TYPE
- Type of agent.
- ID
- Agent unique identifier. Identifier is evaluated from agent name and type.
- AGENT
- Agent name.
- DATABASE
- Database address the agent connects to.
- CONFIGURATION
- Configuration the agent is attached to.
4.4.1. Deleting Agent Data
If you want to delete a Java agent from the manager, just execute the following command:
$ fs2mgr delete --agent-name myAgent --agent-type java <manager_home>
Important
Before you delete an agent, make sure it is not connected to the manager.
4.5. Managing Clients Connections
You can always check what clients are currently connected to the manager. You can simply do it by executing:
$ fs2mgr get --target server-stats <manager_home>
This operation will print a list of the connected clients to your console. The result will be similar to the one below:
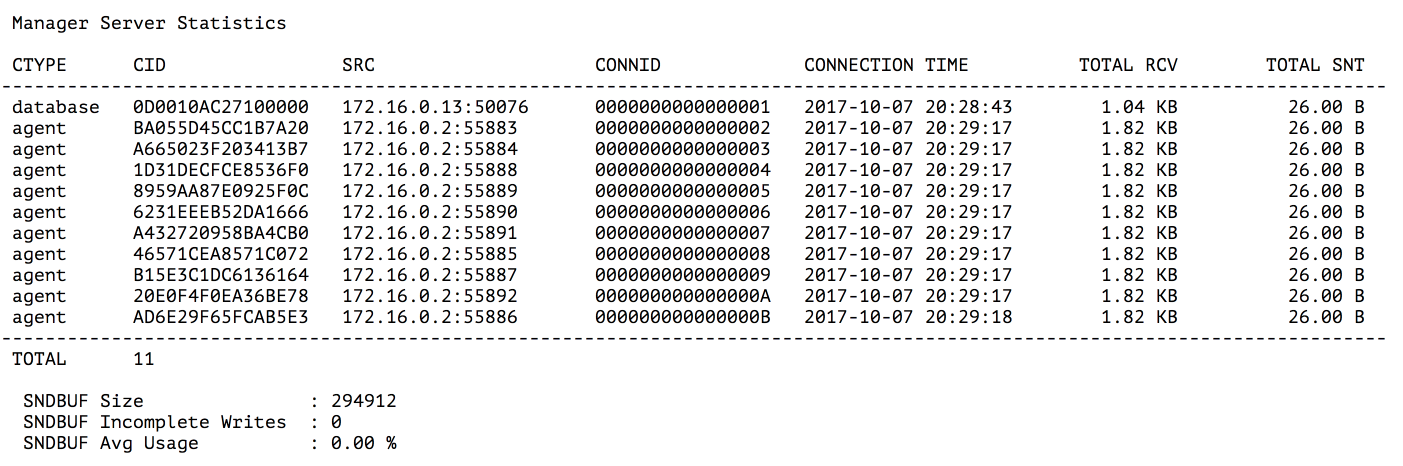
Fig. 4.3 Manager Server Statistics
where:
- CTYPE
- Client type. There are four types: agent, fdbc, database and unknown. The last one is set when a client is connected but not yet authenticated.
- CID
- Client identifier. This value is useful when you search for this client activity in the manager log files.
- SRC
- Client source socket address.
- CONNID
- Client connection identifier. This value is needed when you want to specify a client connection to drop.
- CONNECTION TIME
- Time at which a client connected to the manager.
- TOTAL RCV
- Total size of data received from a client.
- TOTAL SNT
- Total size of data sent to a client.
If you want to disconnect a client, you need to execute the following command:
$ fs2mgr delete --client CONNID <manager_home>
where CONNID is a connection identifier.
Warning
You will not be asked to confirm whether you really want to drop a client connection. This operation will be executed immediately.